Product photography plays a crucial role in showcasing products and attracting potential customers. Whether you are a professional photographer or a small business owner looking to improve your product images, these top 10 product photography tips will help you create stunning visuals that captivate your audience.
Understanding the Basics of Product Photography
Importance of Good Product Photography
High-quality product photography can make or break a sale. It is the visual representation of your product and has a significant impact on how customers perceive its quality and value. Investing time and effort into capturing great product images can pay off in increased sales and customer satisfaction.
Moreover, compelling product photography can also help build brand credibility and trust. When customers see clear, professional images of your products, they are more likely to believe in the authenticity and professionalism of your brand. This can lead to repeat purchases and positive word-of-mouth recommendations, ultimately boosting your business's reputation.
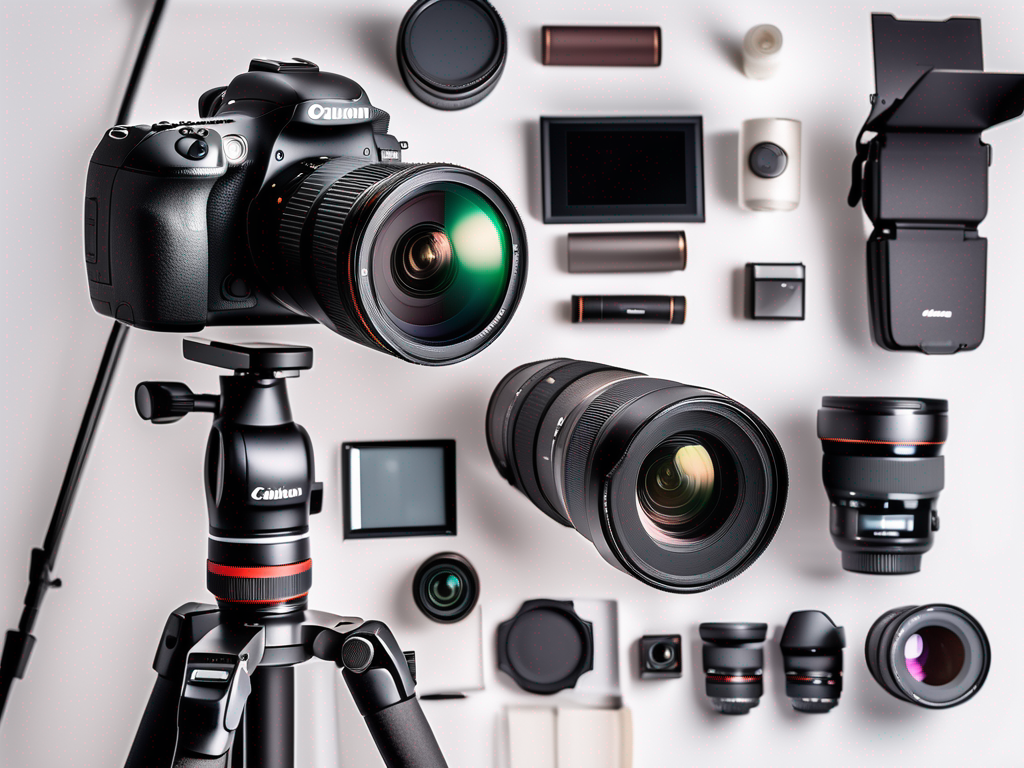
Essential Equipment for Product Photography
To capture stunning product images, you'll need some essential equipment. A good camera with manual settings will give you control over your shots. Make sure to use a tripod to minimize camera shake and keep your images sharp. Additionally, a variety of lenses, such as a macro lens for detailed shots, will allow you to capture different perspectives of your products.
Furthermore, investing in proper lighting equipment is crucial for achieving professional-looking product photos. Whether you opt for natural light, artificial lighting, or a combination of both, having the right lighting setup can dramatically improve the overall quality of your images. Softboxes, reflectors, and diffusers are common tools used to control light and create the desired mood for your product shots.
Mastering the Art of Lighting
Natural vs Artificial Lighting
Lighting is one of the most critical aspects of product photography. Natural lighting can provide a soft, flattering effect on products, especially when combined with diffusers or reflectors to control harsh shadows. On the other hand, artificial lighting, like studio lights, gives you more control over the intensity and direction of light, allowing you to create a specific atmosphere or highlight specific details.
When it comes to natural lighting, the time of day can greatly impact the quality of your photos. The golden hours around sunrise and sunset offer a warm, soft light that can enhance the colors and textures of your products. On the other hand, midday sunlight can be harsh and create strong shadows. Understanding how to work with different natural lighting conditions can help you capture stunning product images.
Tips for Using Reflectors and Diffusers
Reflectors and diffusers are essential tools for manipulating light and enhancing product images. Reflectors bounce light onto your subject, filling in shadows and creating a more balanced exposure. Diffusers, on the other hand, soften harsh light and eliminate glare, resulting in a more pleasing image. Experimenting with different positions and angles for your reflectors and diffusers can dramatically improve your product photography.
Another tip for using reflectors is to choose the right color to complement your product. White reflectors provide a neutral fill light, while silver reflectors can add a cooler tone and enhance contrast. Gold reflectors, on the other hand, add warmth and can be particularly effective for product shots with warm tones. Understanding the impact of different reflector colors can help you achieve the desired look for your product photos.
Setting Up the Perfect Composition
Rule of Thirds in Product Photography
The rule of thirds is a fundamental composition technique in photography that can elevate the visual appeal of your product images. This rule involves dividing your frame into nine equal parts by using two horizontal and two vertical lines. Placing key elements of your product on these intersecting lines or along the lines themselves can create a balanced and visually engaging composition. By following the rule of thirds, you can guide the viewer's eye to the most important parts of your product, making the overall image more captivating. Remember to experiment with different placements to find the most appealing arrangement for your specific product.
Furthermore, incorporating the rule of thirds in your product photography can help you create dynamic and aesthetically pleasing images that stand out. Whether you are capturing a single product or a group of items, applying this composition technique can add depth and interest to your photographs. Keep in mind that the rule of thirds is a versatile guideline that can be adapted to various types of products and settings, allowing you to showcase your items in the best possible light.
Importance of Background Selection
The background plays a crucial role in product photography as it sets the stage for your items and influences how they are perceived by viewers. When selecting a background for your product images, consider the visual impact you want to achieve. Opting for a simple and clean background, such as a white backdrop or a solid-colored surface, can help direct the viewer's attention solely to the product itself. This minimalist approach can be particularly effective for highlighting the details and features of your items without any distractions.
On the other hand, incorporating props or contextual backgrounds in your product photography can add depth and storytelling elements to your images. By carefully choosing backgrounds that complement your products and enhance their visual appeal, you can create a cohesive and compelling visual narrative. Whether you aim to evoke a specific mood or showcase your products in a lifestyle context, the background selection is a critical aspect of product photography that should not be overlooked.
Focusing on the Details
Macro Photography for Detailed Shots
Macro photography allows you to capture intricate details and textures of your product. It's ideal for showcasing small products like jewelry or electronics. Use a macro lens to get up close and personal with your subject, highlighting even the finest details. Make sure to focus precisely to ensure every little element is in sharp focus.
When diving into the world of macro photography, you'll discover a whole new universe of details that are often overlooked by the naked eye. The tiny hairs on a leaf, the delicate patterns on a butterfly's wings, or the intricate engravings on a piece of jewelry become mesmerizing subjects through the lens of a macro camera. Each shot reveals a hidden world of beauty and complexity, inviting viewers to appreciate the small wonders that surround us.
Using Different Angles for Variety
Don't limit yourself to shooting your products from a single angle. Experiment with different perspectives and angles to create variety in your product images. Showcasing your products from different viewpoints can give your audience a better understanding of its features and dimensions. Consider shooting from above, at eye level, or even from below to create unique and engaging compositions.
Changing the angle of your shots can completely transform the way a product is perceived. A simple piece of jewelry, when photographed from above, may highlight its intricate design, while a shot from below can emphasize its shine and luster. By exploring various angles, you can tell a more comprehensive visual story about your product, capturing its essence from every possible viewpoint and allowing customers to appreciate its beauty from all angles.
Post-Production Techniques
Basic Photo Editing Tips
Post-processing your product images is an essential step in perfecting your visuals. Basic photo editing techniques like adjusting exposure, contrast, and saturation can enhance the overall look of your images. Additionally, cropping and straightening your photos can help eliminate distractions and create a more professional appearance. Remember to keep the editing subtle and natural-looking for the best results.
When adjusting exposure, be mindful of not blowing out highlights or losing details in shadows. Finding the right balance is key to creating a visually appealing image that accurately represents your product. Experiment with different settings to see what works best for each individual photo.
Retouching and Enhancing Product Images
Retouching product images can involve removing imperfections, enhancing colors, or adding special effects. Be cautious not to overdo retouching, as it can make your images look unrealistic or deceiving. The goal is to enhance the product's appearance without altering it beyond recognition. Use retouching techniques sparingly and aim for a natural result that accurately represents the product.
When retouching, pay attention to details such as skin texture, product finish, and overall composition. Small tweaks can make a big difference in the final presentation of your images. Remember that consistency is key when retouching a series of product photos to maintain a cohesive look across your catalog.
By following these top 10 product photography tips, you can elevate your product images to a whole new level. Remember, practice makes perfect, so don't be afraid to experiment and refine your techniques. With stunning visuals, you can showcase your products in the best light and attract customers who can't resist making a purchase.
Ready to take your Shopify store to the next level with stunning product photography? Let Owlmix and our wise mascot, Owlfred, guide you to the perfect Shopify apps to enhance your online business. From editing tools to marketing analytics, find your next Shopify app with ease and watch your e-commerce experience soar. Discover apps that align with your specific needs and start creating captivating images that drive sales and grow your brand today!